Installing Proxmox Backup Server
What is Proxmox Backup Server?
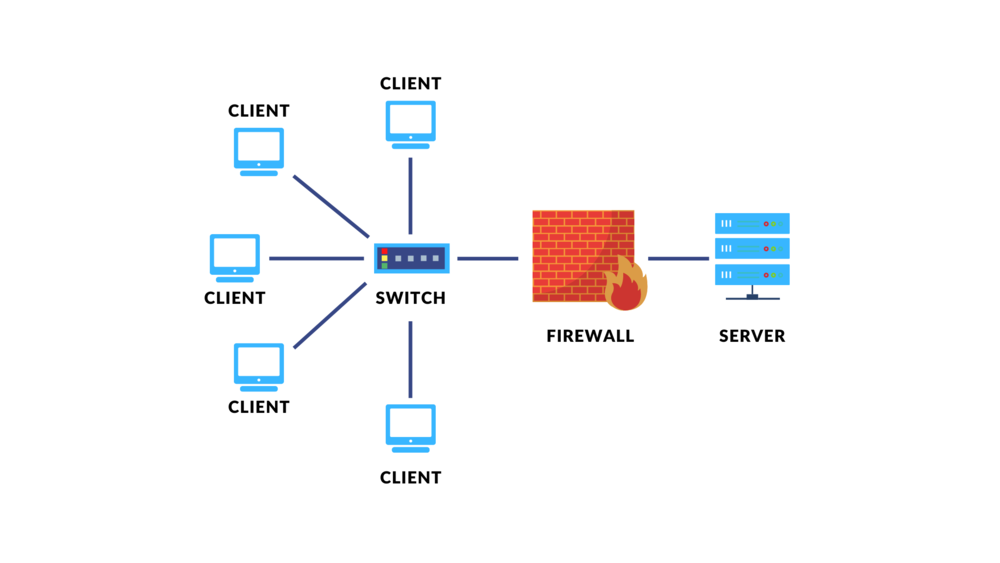
Proxmox Backup Server is an open-source backup solution designed for Proxmox Virtual Environment, providing robust capabilities to efficiently back up and restore virtual machines, containers, and physical hosts. It supports full and incremental backups, utilizes data deduplication to optimize storage, and ensures data security through encryption. With a user-friendly web interface and seamless integration with Proxmox VE, administrators can easily manage backups, schedule tasks, and implement retention policies, facilitating reliable disaster recovery and data protection across various storage options including local, network, and cloud environments.
Why Proxmox Backup Server?
- Integration with Proxmox VE: PBS integrates seamlessly with Proxmox Virtual Environment (PVE), allowing centralized management of backups for virtual machines (VMs), containers, and physical hosts.
- Full and Incremental Backups: Supports both full backups (capturing the entire state of VMs or containers) and incremental backups (storing changes since the last backup), optimizing storage and backup times.
- Data Deduplication: Reduces storage space by identifying and storing only unique data blocks across backups, minimizing redundancy and optimizing storage efficiency.
- Encryption: Ensures data security with built-in encryption for data at rest and during transmission, protecting backups from unauthorized access and ensuring compliance with security standards.
- Web-based Management Interface: Provides an intuitive web interface for easy configuration, scheduling, monitoring, and management of backup tasks.
- Flexible Storage Options: Supports various storage options including local storage, network storage (e.g., NFS, SMB/CIFS), and cloud storage (via rclone integration), offering flexibility to choose the most suitable storage solution.
- Retention Policies: Allows administrators to define retention policies to manage how long backups are retained, ensuring compliance with data retention requirements and optimizing storage usage.
- Disaster Recovery: Facilitates efficient restoration of VMs and containers from backups, minimizing downtime and ensuring business continuity in case of data loss or system failures.
- Open Source and Community Support: As open-source software, PBS benefits from community contributions, ensuring continuous improvement, support, and customization options based on user needs and feedback.
Lets begin installing Proxmox Backup Server
Installing Proxmox Backup Server is so easy – it just needs a few simple steps:
1.Preparation Before Installation:
- Ensure the computer is powered off.
- Prepare the OS installation media (DVD, USB flash drive) and make sure the boot order in BIOS is set to boot from the installation media.
- Connect peripherals such as keyboard, mouse, and monitor to the computer.
2.Choose your installation
- Choose your installation using Graphical or UI

3. End User License Agreement (EULA)
- Read the license Agreement then click next

4.Target Disk
- Choose target disk where you wanna install your Backup Server

5.Location and Time Zone selection
- Select you location and time zone if you not choose it right some weird will happen

6.Administration Password and Email Address
- Create password for login and insert your email Proxmox will email you if something happen in your server

7.Management Network Configuration
- Insert your management interface,Hostname,IP Address,Gateway, and DNS Server

8.Summary
- Check all your setting if it done click install

9.Select Entry
- Select which entry to highlight (Just click Proxmox Backup Server GNU/Linux)

Proxmox Backup Server Tips and Trick
If you are new to proxmox backup server here some introduction for some interfaces that u need to know:
Acces control
- if have proxmox ve in different network u can use Configuraton:network interfaces:edit:and setting ur ipv4/v6 and gateway
- make user:acces control:user management:add
- making two step verification:acces control:user management:two step verification:add:TOTP:pick user and scan the QR CODE
- Add API Token:acces control:API Token:fill the token
- give user role or permission:acces control:permission:used to give username permission to edit and Role to user
Remotes
- A remote refers to a separate Proxmox Backup Server installation and a user on that installation, from which you can sync datastores to a local datastore with a Sync Job.
- to add a remote, you need its hostname or IP, a user id and password on the remote, and its certificate fingerprint. To get the fingerprint, use the proxmox-backup-manager cert info command on the remote, or navigate to Dashboard in the remote’s web interface and select Show Fingerprint.# proxmox-backup-manager cert info |grep Fingerprint
Fingerprint (sha256): 64:d3:ff:3a:50:38:53:5a:9b:f7:50:…:ab:fe .Using the information specified above, you can add a remote from the Remotes configuration panel, or by using the command:# proxmox-backup-manager remote create pbs2 –host pbs2.mydomain.example –userid sync@pam –password ‘SECRET’ –fingerprint 64:d3:ff:3a:50:38:53:5a:9b:f7:50:…:ab:fe .Use the list, show, update, remove subcommands of proxmox-backup-manager remote to manage your remotes:
╞══════╪══════════════╪══════════╪═══════════════
│ pbs2 (name) │ pbs2.example(host) │ sync@pam(user id) │64:d3:ff:3a:50:38:53:5a:9b:f7:50:…:ab:fe (fingerprint)
certificates
- If you already have a certificate which you want to use for a Proxmox VE node you can upload that certificate simply over the web interface.Note that the certificates key file, if provided, mustn’t be password protected.You need to register an ACME account per cluster with the endpoint you want to use. The email address used for that account will serve as contact point for renewal-due or similar notifications from the ACME endpoint.You can register and deactivate ACME accounts over the web interface Datacenter -> ACME or using the pvenode command-line tool.pvenode acme account register account-name [email protected]
Subscrption
- if u have subscrption for proxmox u can add it by:subscrption:upload subscription key
Administration
Server status
show you metrix graphic about CPU usage ,Server load,memory usage,Network traffic,root disk usage,root disk usage,root disk transfer rate,Root disk input/output operation per second, and root disk io delay
Services
can make u start,stop,restart and show syslog of the service that current running
Update
refresh to check any update avaible
Upgrade
yes upgrade ur proxmox
Shell(terminal window)
- if u first download your username is root,because proxmox is based in debian you can use any linux command like shh and smth like th
Storage/Disks
- Disks
- initiallaze your disk so proxmox can use them.how to initialaze disk:click the disk:initialze disk with GPT. it will wiped the information from the disk
- Directory
- create a mount with one of these disk :create directory:select disk:select file system:and name it:create
- How make prune section
- (name server/node):prune && cc:u can edit or start garbage collection:prune option and now you can setting it by your self when you wanna do the prune schedule
- Sync jobs
- you can backup your proxmox server to another proxmox server
- you can also do it in remotes
How to link Proxmox VE to Proxmox Backup Server
- Data center:storage:Add:choose your Backup Server:name the id,for the server just copy your backup server ip addr:fill the username(if u never change ur username your username should be root@pam,type the password,move to proxmox backup server dashboard:show fingerprint:copy the fingerprint:and paste that into proxmox VE fingerprint:fill datastore with your server name:click add
How to make ur server and cluster have acces into backup store:
- how to add ur server/container from ve server to Backup:Backup:Backup now:choose ur Backup Server:mode:pick your mode(i pick Stop):fill youre email:Backup
How to check if your server is successfully backed up or not?
- Backup:storage:click your backup server. to confirm it you can go to backup server:click your server: content *you can :backup now,Restore,file Restore,File configuration,Edit Notes and Remove it*
If u wanna automate backup do this:
- VE:datacenter:backup:Add:choose the node:storage(Backup server):day of week:start time:selection mode:email&email verification:mode:then click create:as long as your server connected to internet it will auto backup your server
You also can file restore even if the file is inside the container:
- Click your VE server:backup:file restore:you can restore all the file or specific file,or you can restore the full container by click restore:pick storage:set ID:restore
Create file level backup from inside the server:
- Check your VE IP:open terminal:log into our server using ssh:(add repository for back up client) sudo nano /etc/apt/sources.list.d/pbs-client.list deb [arch=amd64] *64 is bit pbs is your backup server name* http://download.proxmox.com/debian/pbs-client bullseye main *bullseye is Debian version, bulls eye is for GNU nano 4.8* *ctrl+s then ctrl+x*
Add key for repository:
- sudo wget http://enterprise.proxmox.com/debian/proxmox-release-bullseye.gpg -0 /etc/apt/trusted.gpg.d/proxmox-release-bullseye.gpg *again bullseye is version of debian GNU nano 4.8*
- sudo update you already know this command right?
- sudo apt install proxmox-backup-client
Now you got Proxmox backup client on this server you can add this Proxmox backup client to any server that you want to be able to anykind file level backup to your Proxmox backup server
How to create Backup Server
- example: echo “Hello Word” > hello.txt
- back up entire file system to over Proxmox backup server:
- sudo su
- Proxmox-backup-client backup root.pxar:/ – -repository (ur backup ip:your server name. example: 192.168.100.2:backuptest1 / means everything
- enter password
- wait until the backup done *command will show how big the backup and how long the duration to backup the file
- you can check it in your backup server:click your server:content u also can download it from your backup server
How to create encrypted backup:
- create backup key:proxmox-backup-client key create my-backup.key
- type your password once it done you got backup key
- proxmox-backup-client root.pxar:/ – – repository 192.168.100.2: (type your ip addres/proxmox bacup server ip and ur server name) backuptest1 – – keyfile /root/my-backup.key
- enter your password
- wait until its done (once its done it will show how big the backup and the duration)
How to list backup group that you have in the server:
- proxmox-backup-client list
- enter your password (and it show list of the group that inside ur backup server)
How to list individual backup for the group/container:
- proxmox-backup-client list snapshot list (group/container that u want to list from the backup) example:vm/77
- enter password
How to mount backup with command line:
- proxmox-backup-client list (check the backup)
- enter password
- create directory (if you have directory skip this)
- mkdir /mnt/mybackup (example)
- proxmox-backup-client list mount (copy the last snapshot of the file/ct and paste it) root.pxar (the directory) example:/mnt/mybackup (if you encrypted the backup you need include the key) example: – -keyfile /root/my-back-up.key
- enter password for root
- enter password for ecryption
- to check it use: ls -l (ur directory)example:/mnt/mybackup/
Tips and Tricks here is not up to date but I will update it as fast as I can.
And Enjoy your Backup Server